This article was written using version 0.8.0 of the Trino community helm charts and version 1.21.9-gke.1002 of Kubernetes.
In this article, we are going to walk through deploying Trino with the community helm charts on the Google Cloud Platform.
This article assumes you already have a Kubernetes cluster created in Google
Cloud and have a connection to it configured for kubectl.
We’ll start with a simple bare bones deployment and progress from there.
First, we need to add the helm repository for the Trino community charts.
helm repo add trino https://trinodb.github.io/charts/
helm repo update
Now that we have the chart repository added, we can get started.
Simple cluster with defaults
Let’s start wit the simplest possible deployment. We will use mostly the default values for the Trino chart.
The main things we will change are the environment name and how the cluster
is exposed. We will expose the cluster with a LoadBalancer for now just
for this article for simple testing.
Our custom value will be stored in a trino.yaml file. For our first example,
our trino.yaml file will have the following contents:
server:
  node:
    environment: test

service:
  type: LoadBalancer
Now, lets deploy this cluster with helm:
helm install trino trino/trino --version 0.8.0 --values trino.yaml
This will create a Trino cluster with 1 coordinator and 2 workers. We can verify this by looking at the pods that have been deployed:
$ kubectl get pods
NAME                                 READY   STATUS    RESTARTS   AGE
trino-coordinator-5dbcff8f8f-2g7b9   1/1     Running   0          51s
trino-worker-7cdd97b6c-kd26h         1/1     Running   0          51s
trino-worker-7cdd97b6c-vmhrf         1/1     Running   0          51s
$
Next, we’ll verify a LoadBalancer has been created with an external IP:
$ kubectl get svc trino
NAME    TYPE           CLUSTER-IP     EXTERNAL-IP   PORT(S)          AGE
trino   LoadBalancer   10.81.96.139   34.148.83.2   8080:32764/TCP   87s
$
Now that a LoadBalancer has been created with an external IP, we can connect
with the Trino CLI and run a query:
$ trino --server http://34.148.83.2:8080 --user padraig
trino> select * from system.runtime.nodes;
              node_id               |        http_uri        | node_version | coordinator | state
------------------------------------+------------------------+--------------+-------------+--------
 trino-coordinator-5dbcff8f8f-2g7b9 | http://10.84.1.25:8080 | 375          | true        | active
 trino-worker-7cdd97b6c-vmhrf       | http://10.84.1.24:8080 | 375          | false       | active
 trino-worker-7cdd97b6c-kd26h       | http://10.84.2.13:8080 | 375          | false       | active
(3 rows)

Query 20220401_012800_00000_2numb, FINISHED, 2 nodes
Splits: 2 total, 2 done (100.00%)
2.56 [3 rows, 186B] [1 rows/s, 73B/s]

trino>
This shows all the nodes in our cluster.
Add a MySQL catalog
Next, let’s add a new MySQL catalog to our Trino cluster.
First, we’ll deploy an ephermal MySQL service that we can use in our cluster.
helm repo add bitnami https://charts.bitnami.com/bitnami
helm repo update
The mysql.yaml file I’m using with custom values looks like:
auth:
  database: trino
  rootPassword: root
We deploy MySQL with helm:
helm install mysql bitnami/mysql --values mysql.yaml
This will deploy a MySQL server and create a schema named trino. It will
also set the password for the root user to root.
Now, we will update our trino.yaml to add a new catalog for connecting to
this MySQL database.
server:
  node:
    environment: test

additionalCatalogs:
  mysql: |
    connector.name=mysql
    connection-url=jdbc:mysql://mysql:3306/
    connection-user=root
    connection-password=root

service:
  type: LoadBalancer
Now, we can update our Trino deployment with helm:
helm upgrade trino trino/trino --install --version 0.8.0 --values trino.yaml
kubectl rollout restart deployment trino-coordinator
kubectl rollout restart deployment trino-worker
Notice we need to restart all the pods for the configuration to become
immediately effective. There is work in progress in the Trino charts to
automatically restart the pods in this scenario and avoid the need for the
additional kubectl rollout restart command.
Once the Trino pods are restarted, try connecting to Trino with the CLI and
verify the MySQL catalog is present with a schema named trino.
$ trino --server http://34.148.83.2:8080 --user padraig
trino> show schemas in mysql;
       Schema
--------------------
 trino
 information_schema
 performance_schema
(3 rows)

Query 20220401_014443_00004_typwa, FINISHED, 3 nodes
Splits: 6 total, 6 done (100.00%)
0.38 [3 rows, 58B] [7 rows/s, 153B/s]

trino>
Enable autoscaling
Lets now enable autoscaling for our Trino cluster to add workers when necessary. The only metric that can be used for autoscaling at the moment is CPU utilization.
To enable autoscaling, our trino.yaml file will now look like:
server:
  node:
    environment: test
  autoscaling:
    enabled: true
    maxReplicas: 4
    targetCPUUtilizationPercentage: 15

additionalCatalogs:
  mysql: |
    connector.name=mysql
    connection-url=jdbc:mysql://mysql:3306/
    connection-user=root
    connection-password=root

service:
  type: LoadBalancer
The default target CPU utilization is 50% so I set it to 15% to have auto scaling kick in quickly for demo purposes.
Now, lets redeploy Trino:
helm upgrade trino trino/trino --install --version 0.8.0 --values trino.yaml
kubectl rollout restart deployment trino-coordinator
kubectl rollout restart deployment trino-worker
Ad again, verify there are 2 worker pods initially.
$ kubectl get pods
NAME                                 READY   STATUS    RESTARTS   AGE
mysql-0                              1/1     Running   0          28m
trino-coordinator-5dbcff8f8f-4mk6g   1/1     Running   0          32s
trino-worker-7cdd97b6c-jcrgr         1/1     Running   0          32s
trino-worker-7cdd97b6c-ls8tc         1/1     Running   0          32s
$
Now, lets kick off some CPU intensive queries in parallel. For example, kick this query off a few times in parallel:
select sum(quantity) from tpch.sf100000.lineitem;
While you have 4 or 5 of these CPU intensive queries running in parallel, monitor the number of worker pods and you will see auto scaling kick in:
NAME                                 READY   STATUS    RESTARTS   AGE
mysql-0                              1/1     Running   0          31m
trino-coordinator-5dbcff8f8f-4mk6g   1/1     Running   0          3m22s
trino-worker-7cdd97b6c-j5wg6         0/1     Running   0          6s
trino-worker-7cdd97b6c-jcrgr         1/1     Running   0          3m22s
trino-worker-7cdd97b6c-ls8tc         1/1     Running   0          3m22s
Notice the trino-worker-7cdd97b6c-j5wg6 worker pod that is starting up now.
Once the worker pod becomes ready, you will see the number of workers in the Trino web UI increase.
Change JVM configs
So far, we have not been setting the max heap size for the JVM on either the workers or the coordinator. Let’s say we want to specify what the max heap size for JVM should be.
This is possible by updating our trino.yaml file to look like:
server:
  node:
    environment: test
  autoscaling:
    enabled: true
    maxReplicas: 4
    targetCPUUtilizationPercentage: 15

coordinator:
  jvm:
    maxHeapSize: "12G"

worker:
  jvm:
    maxHeapSize: "12G"

additionalCatalogs:
  mysql: |
    connector.name=mysql
    connection-url=jdbc:mysql://mysql:3306/
    connection-user=root
    connection-password=root

service:
  type: LoadBalancer
Notice that the workers and coordinator can have different JVM heap sizes if we wished. Now let’s redeploy Trino:
helm upgrade trino trino/trino --install --version 0.8.0 --values trino.yaml
kubectl rollout restart deployment trino-coordinator
kubectl rollout restart deployment trino-worker
To verify the memory on the pods, we can use jcmd:
$ kubectl exec -it trino-coordinator-57bf54b59-rb5xs -- /bin/bash -c "jcmd 1 VM.flags"
-XX:CICompilerCount=2 -XX:ConcGCThreads=1 -XX:+ExitOnOutOfMemoryError -XX:+ExplicitGCInvokesConcurrent -XX:G1ConcRefinementThreads=1 -XX:G1HeapRegionSize=33554432 -XX:GCDrainStackTargetSize=64 -XX:+HeapDumpOnOutOfMemoryError -XX:InitialHeapSize=67108864 -XX:MarkStackSize=4194304 -XX:MaxHeapSize=12884901888 -XX:MaxNewSize=7717519360 -XX:MinHeapDeltaBytes=33554432 -XX:NonNMethodCodeHeapSize=5825164 -XX:NonProfiledCodeHeapSize=265522874 -XX:PerBytecodeRecompilationCutoff=10000 -XX:PerMethodRecompilationCutoff=10000 -XX:ProfiledCodeHeapSize=265522874 -XX:ReservedCodeCacheSize=536870912 -XX:+SegmentedCodeCache -XX:-UseBiasedLocking -XX:+UseCompressedClassPointers -XX:+UseCompressedOops -XX:+UseFastUnorderedTimeStamps -XX:+UseG1GC -XX:+UseGCOverheadLimit
$
Notice -XX:MaxHeapSize=12884901888 corresponds to the value I specified in my
YAML file.
TLS termination and authentication
Finally, we want to enable TLS and password authentication for out Trino cluster. We will use file based password authentiation.
We need to update our Trino config to enable PASSWORD based authentication.
For file based authentication, the helm chart allows us to enter a list of
username and passwords that will automatically get placed in a password.db
file on the coordinator pod.
The password must be in one of the formats outlined in the Trino docs. For this example, I am going to use bcrypt format and I’m going to add a username/password entry for bob/bob.
We are also going to stop exposing the cluster with a LoadBalancer and instead
expose it using the default method of ClusterIP.
As we are going to be doing TLS termination, we need set 1 additional config
property in the coordinator - http-server.process-forwarded.
With all that said, our trino.yaml file will look like the following:
server:
  node:
    environment: test
  config:
    authenticationType: "PASSWORD"
  autoscaling:
    enabled: true
    maxReplicas: 4
    targetCPUUtilizationPercentage: 15
  coordinatorExtraConfig:
    http-server.process-forwarded=true

auth:
  passwordAuth: "bob:$2y$10$5bJMqeHSHUa/zh1GNJNJhOUuaOL/kF5clDgKz9s.cNlHrHIL8U/HW"

coordinator:
  jvm:
    maxHeapSize: "12G"

worker:
  jvm:
    maxHeapSize: "12G"

additionalCatalogs:
  mysql: |
    connector.name=mysql
    connection-url=jdbc:mysql://mysql:3306/
    connection-user=root
    connection-password=root
Redeploy our Trino cluster:
helm upgrade trino trino/trino --install --version 0.8.0 --values trino.yaml
kubectl rollout restart deployment trino-coordinator
kubectl rollout restart deployment trino-worker
The services on our Kubernetes cluster will now look like:
$ kubectl get service
NAME             TYPE        CLUSTER-IP     EXTERNAL-IP   PORT(S)    AGE
kubernetes       ClusterIP   10.81.96.1     <none>        443/TCP    4d2h
mysql            ClusterIP   10.81.96.189   <none>        3306/TCP   3d
mysql-headless   ClusterIP   None           <none>        3306/TCP   3d
trino            ClusterIP   10.81.96.179   <none>        8080/TCP   2d
$
Now to expose the cluster and configure TLS termination, we are going to manually create an Ingress.
First, we will create a static IP and configure a DNS A record. Since this article is for the Google Cloud platform, the way we create a static IP is:
gcloud compute addresses describe trino-static-ip --global
Once the static IP is ready, we configure a DNS A record with this IP.
We are going to use Google Managed certificates for enabling TLS to this cluster.
The first thing we need to do is create a managed certificate with the DNS
record we configured for the static IP we created. We will place the
following in a managed-cert.yaml file:
apiVersion: networking.gke.io/v1
kind: ManagedCertificate
metadata:
  name: trino-managed-cert
spec:
  domains:
    - trino-gateway.starburst-customer-success.com
And we will deploy it with kubectl:
kubectl apply -f managed-cert.yaml
It can take up to 60 minutes to provision a managed certificate on the
Google Cloud Platform. Once it is provisioned, it should show a status of
Active:
$ kubectl get managedcertificate
NAME           AGE   STATUS
managed-cert   47h   Active
$
Now we are ready to create an Ingress. We will put the following in an
ingress.yaml file:
apiVersion: networking.k8s.io/v1
kind: Ingress
metadata:
  name: trino-ingress
  annotations:
    kubernetes.io/ingress.global-static-ip-name: "trino-static-ip"
    networking.gke.io/managed-certificates: managed-cert
    kubernetes.io/ingress.class: "gce"
spec:
  defaultBackend:
    service:
      name: trino
      port:
        number: 8080
Notice we reference the managed certificate and static IP we created earlier.
Now deploy the Ingress:
kubectl apply -f ingress.yaml
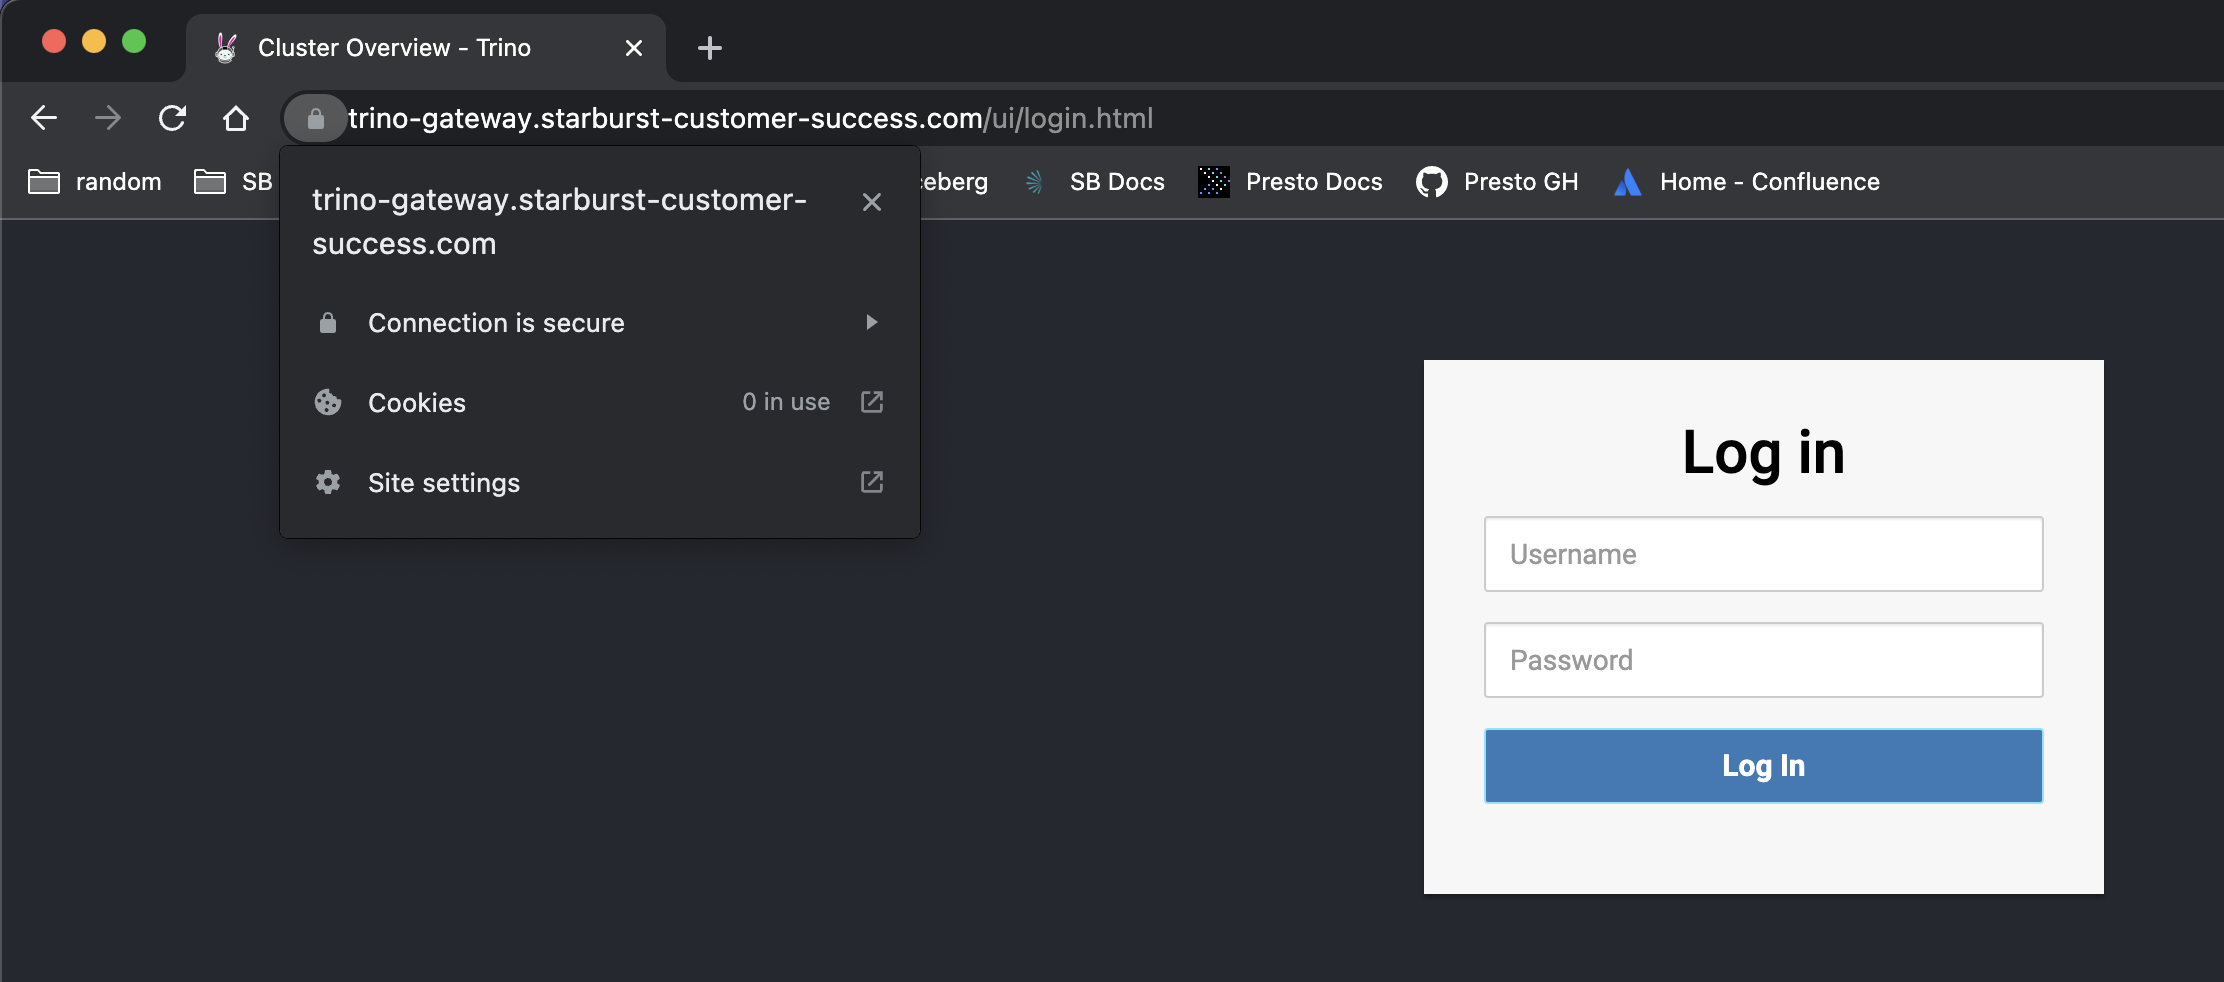
After the Ingress has an external IP allocated, navigate to the web UI at the hostname we configured our DNS record for.
We can also now connect with a username and password with the Trino CLI:
$ trino --server https://trino-gateway.starburst-customer-success.com --user bob --password
Password:
trino> show catalogs;
 Catalog
---------
 mysql
 system
 tpcds
 tpch
(4 rows)

Query 20220402_021515_00000_qhent, FINISHED, 2 nodes
Splits: 6 total, 6 done (100.00%)
4.03 [0 rows, 0B] [0 rows/s, 0B/s]

trino>
Troubleshooting
If you are unable to connect to the Trino cluster through the Ingress you configured, you should look at whether the Ingress thinks the backend Trino service is healthy or not.
You want to see something like this in the output of
kubectl describe ingress trino-ingress:
  Host        Path  Backends
  ----        ----  --------
  *           *     trino:8080 (10.84.1.48:8080)
Annotations:  ingress.gcp.kubernetes.io/pre-shared-cert: mcrt-a18fe6f3-77de-4e3f-b1da-5a4dff917a1b
              ingress.kubernetes.io/backends: {"k8s1-a536ee33-default-trino-8080-1f12238e":"HEALTHY"}
If the backend Trino service is UNKNOWN or not HEALTHY, then we need to
create a custom health check for the Trino service. This can be done by putting
the following in a trino_gc_config.yaml file:
apiVersion: cloud.google.com/v1beta1
kind: BackendConfig
metadata:
  name: trino-hc-config
spec:
  healthCheck:
    checkIntervalSec: 15
    port: 8080
    type: HTTP
    requestPath: /v1/status
Now deploy the custom health check config:
kubectl apply -f trino_hc_config.yaml
And finally, annotate the Trino service with the custom health check we just created:
kubectl annotate svc trino cloud.google.com/backend-config='{"default": "trino-hc-config"}'
The above is specific to the Google Cloud Platform.
Conclusion
We covered a few different configurations that can be configured with the Trino community helm charts.
Many more are planned or in progress in the helm charts such as Ingress support in the helm charts and access control.
If anyone has any questions or would like to see more examples, please feel free to reach out to me on the Trino community slack or message me on twitter.